This article will show you exactly how to use Cart Designer to completely change the look of the theme you've chosen, so it matches your business. This lesson uses specific images and colors, but can easily be completed with your own. If you follow this lesson exactly, you will get a good grasp of how to make the major design changes, as well as how to use Firebug to fix CSS. If you haven't already, see Part 1 - The Tools and Part 2 The Logic.
In some sections, I go over in detail how to use Firebug to find CSS. If you prefer, you can just copy the CSS at the end of the section and apply it directly to your theme.
Applies to Version(s): 3.7.X - Current
In this article you will learn
Inserting the Header Background
Switching Out the Home Page Image
Using Firebug to Find CSS, Edit it and Copy it Into Your Website
Changing the CSS of the Product Price Boxes
Reducing the Drop-Shadow on the Footer
Changing the Color of the Buttons
Complexity Level: Advanced
Estimated Time for Completion: 2 hours
The Plan.
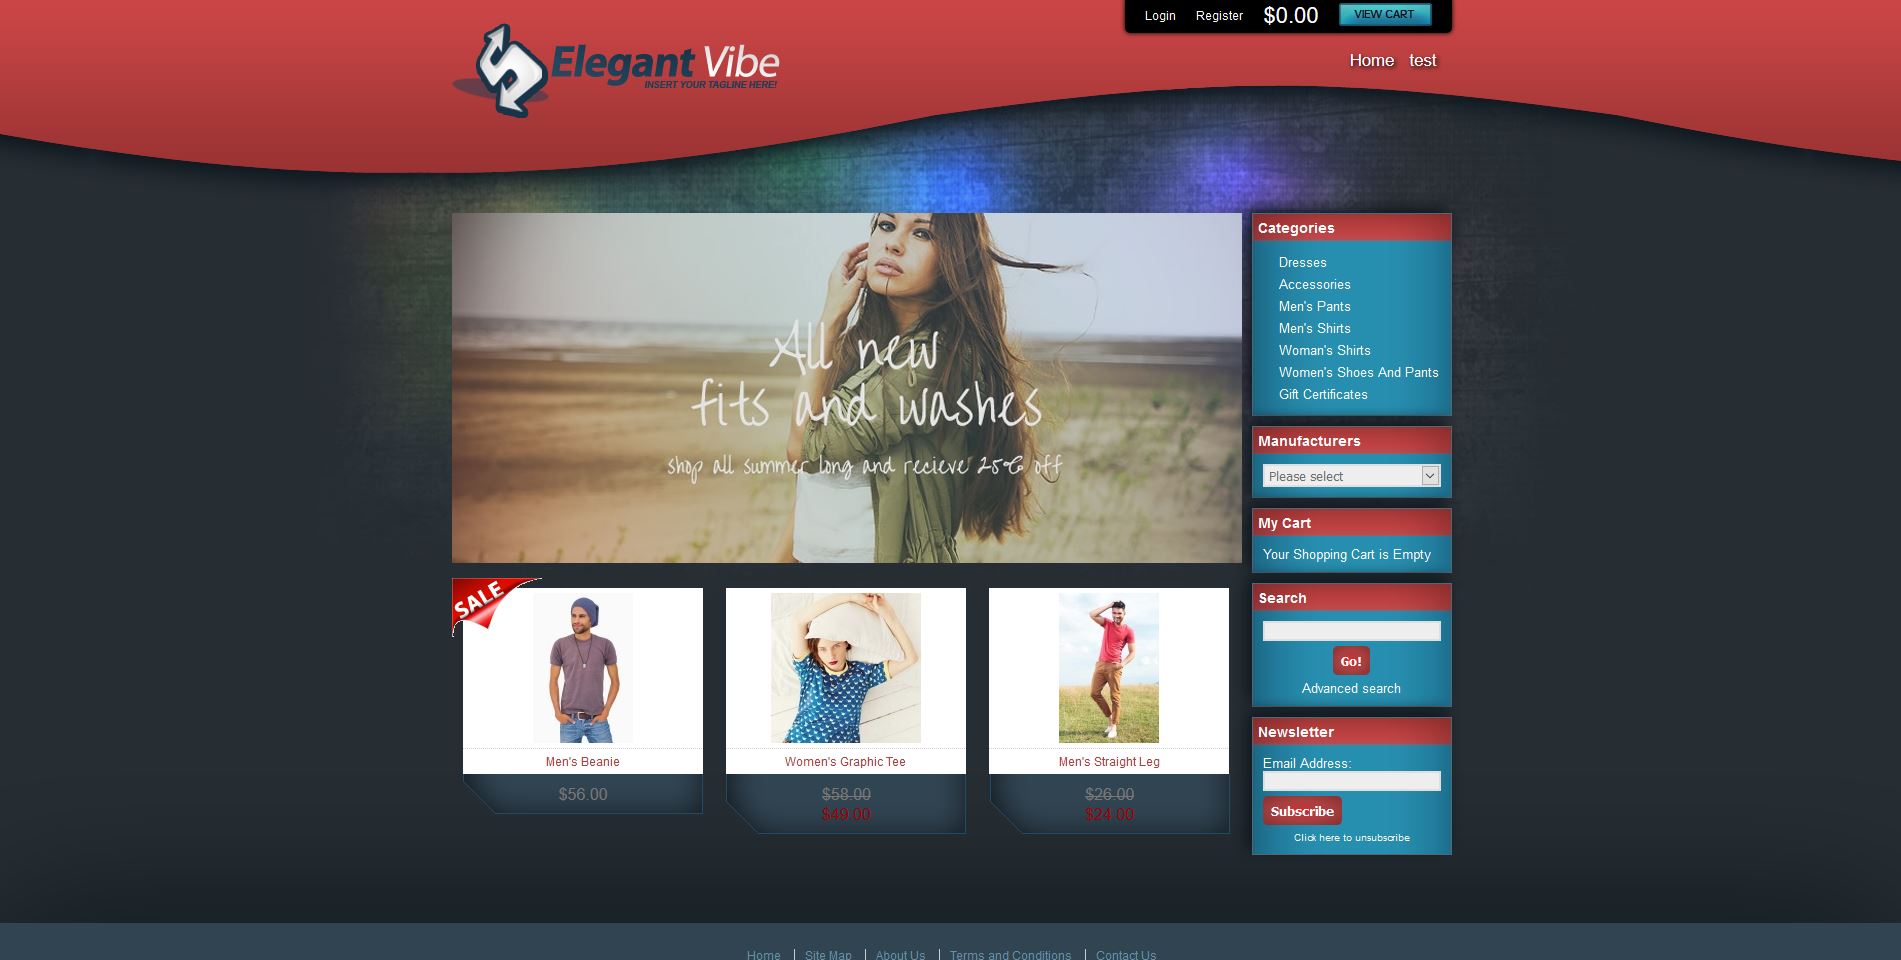
For this lesson we will be using the Elegant Vibe theme. Most of the lessons learned here will apply to every theme.
You can use your own images for this theme. The images we're using will be available to download for each step in the plan. If you follow this lesson exactly and use the images provided, it should provide you with everything you need to know to design with your own assets.
We will be going from this:
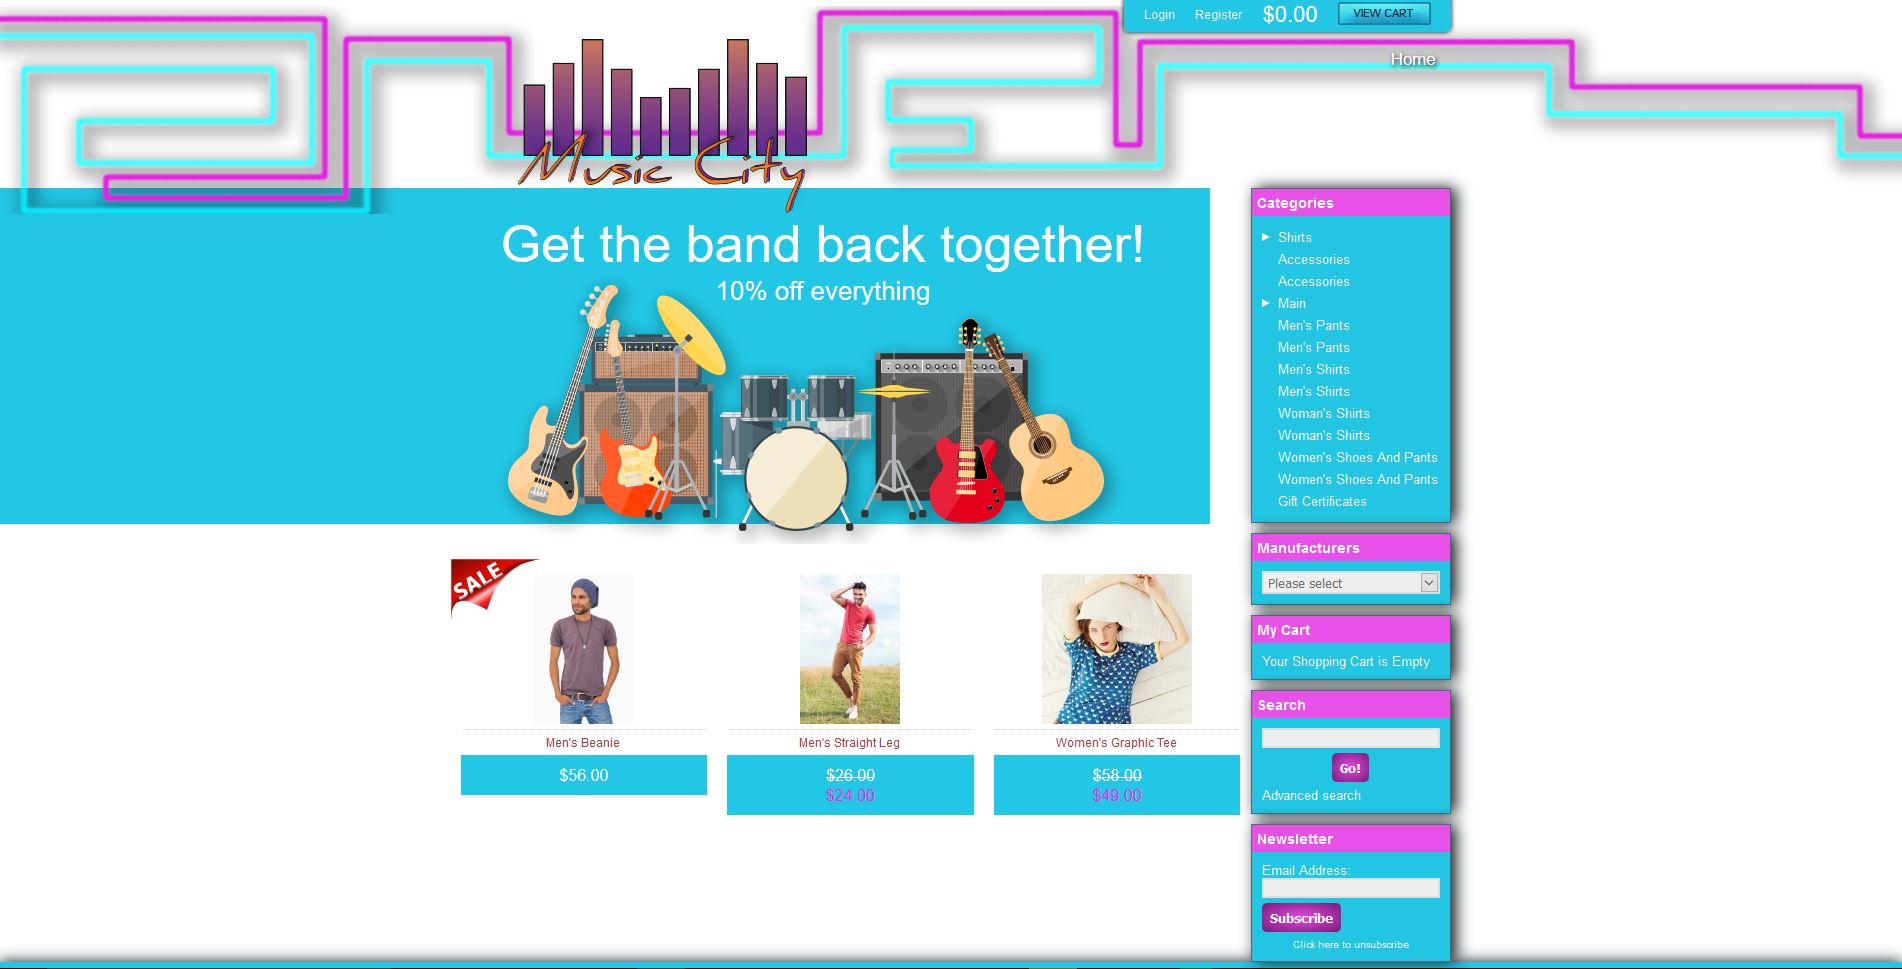
To this:
Don't mind the home page products. Those are not changed through Cart Designer, but in the Products section of the admin. See Adding a Product for a walkthrough on that.
Prepping for Design.
This section is an overview of how I went about designing my site. First I went to my site with Elegant Vibe enabled (to enable this theme, in your admin area, go to Design > click Activate under Elegant Vibe). I navigated to the home page, used the Windows Snipping Tool, took a screenshot and saved it.
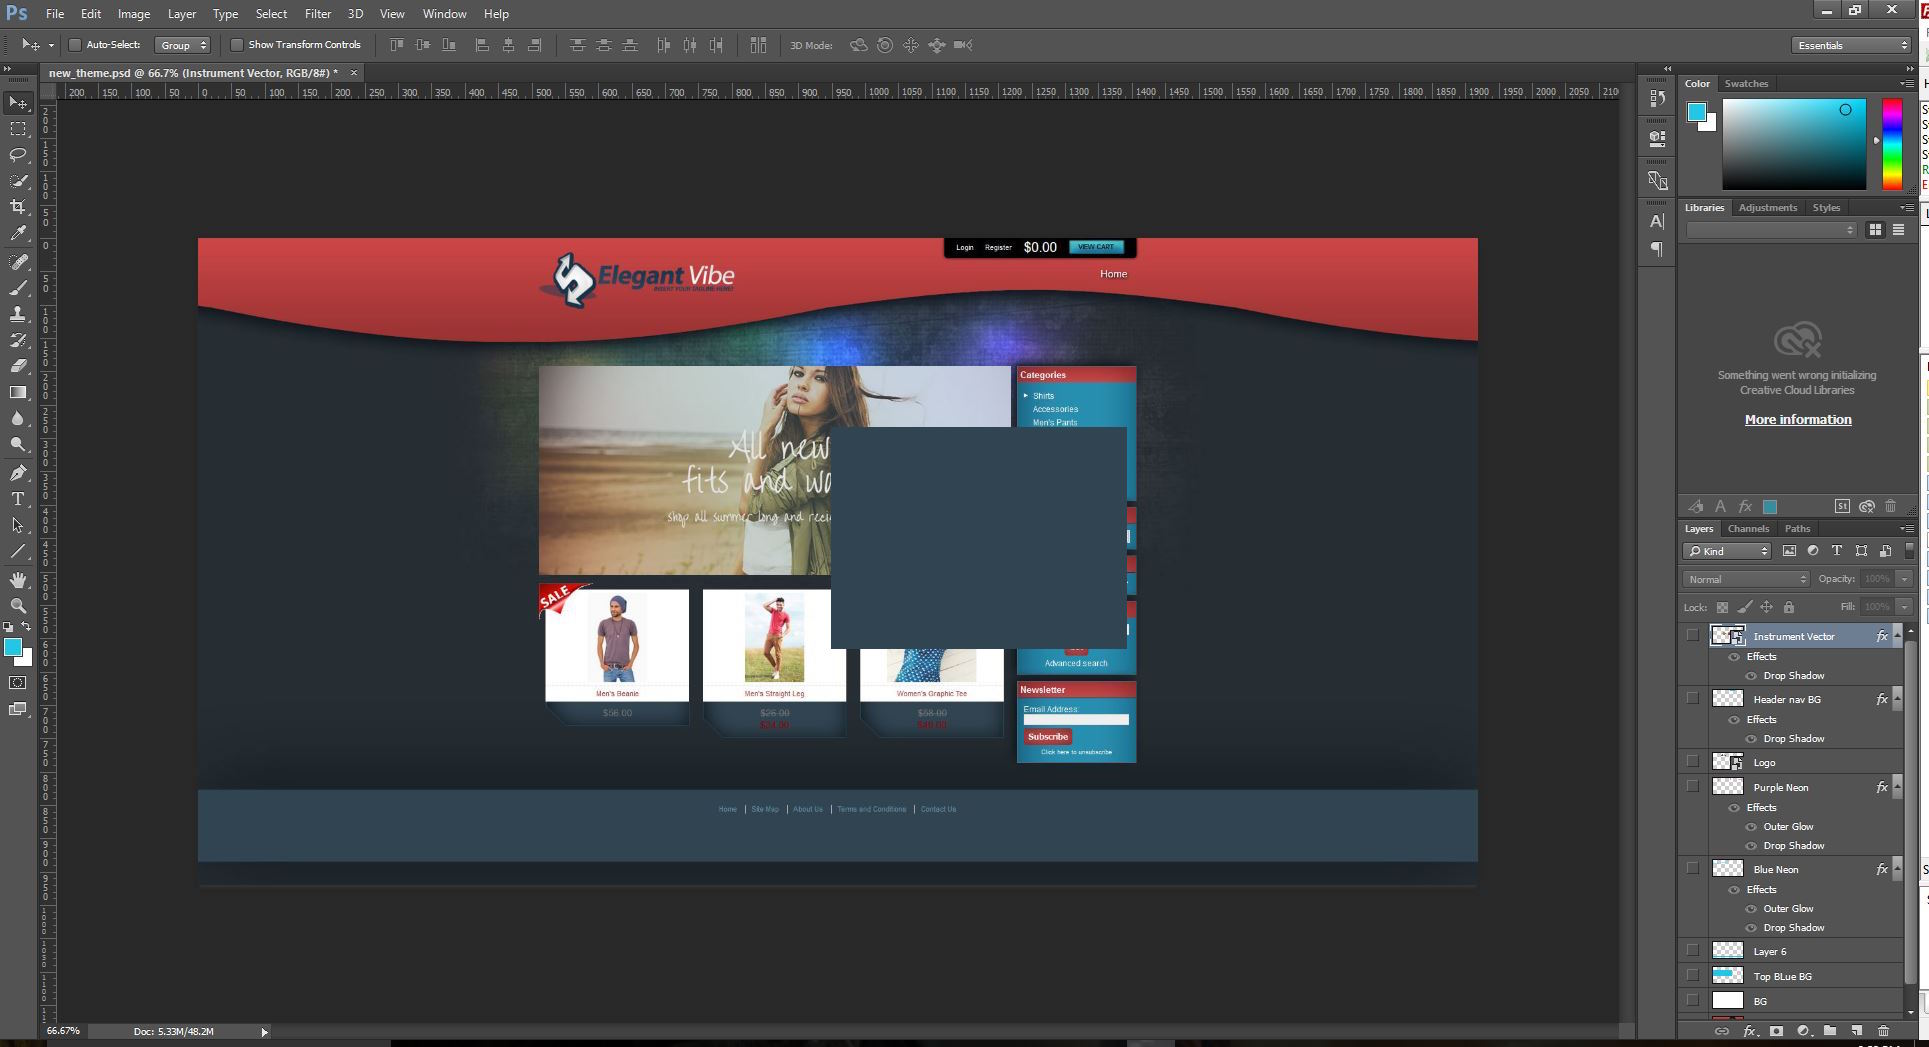
I then opened up Adobe Photoshop > went to File > Open and opened up the screenshot.
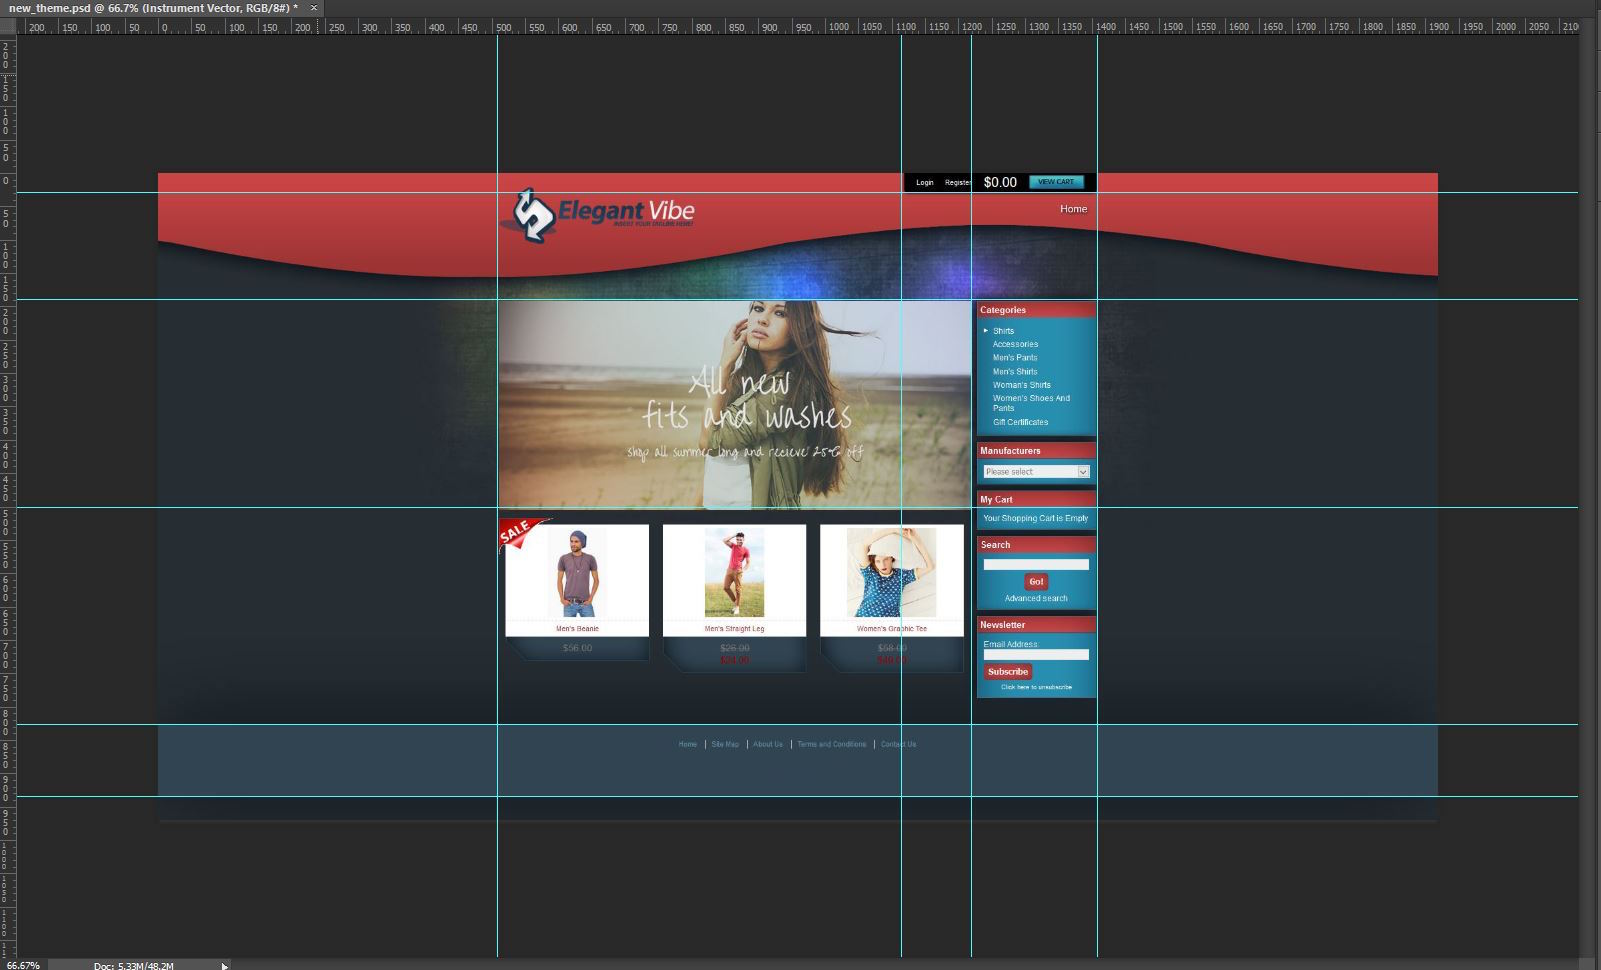
Next I used Guides in Photoshop to make a grid out of the different elements of my site. This way I know where to lay out my custom elements.
I then layout how I want my custom elements to look, like so:
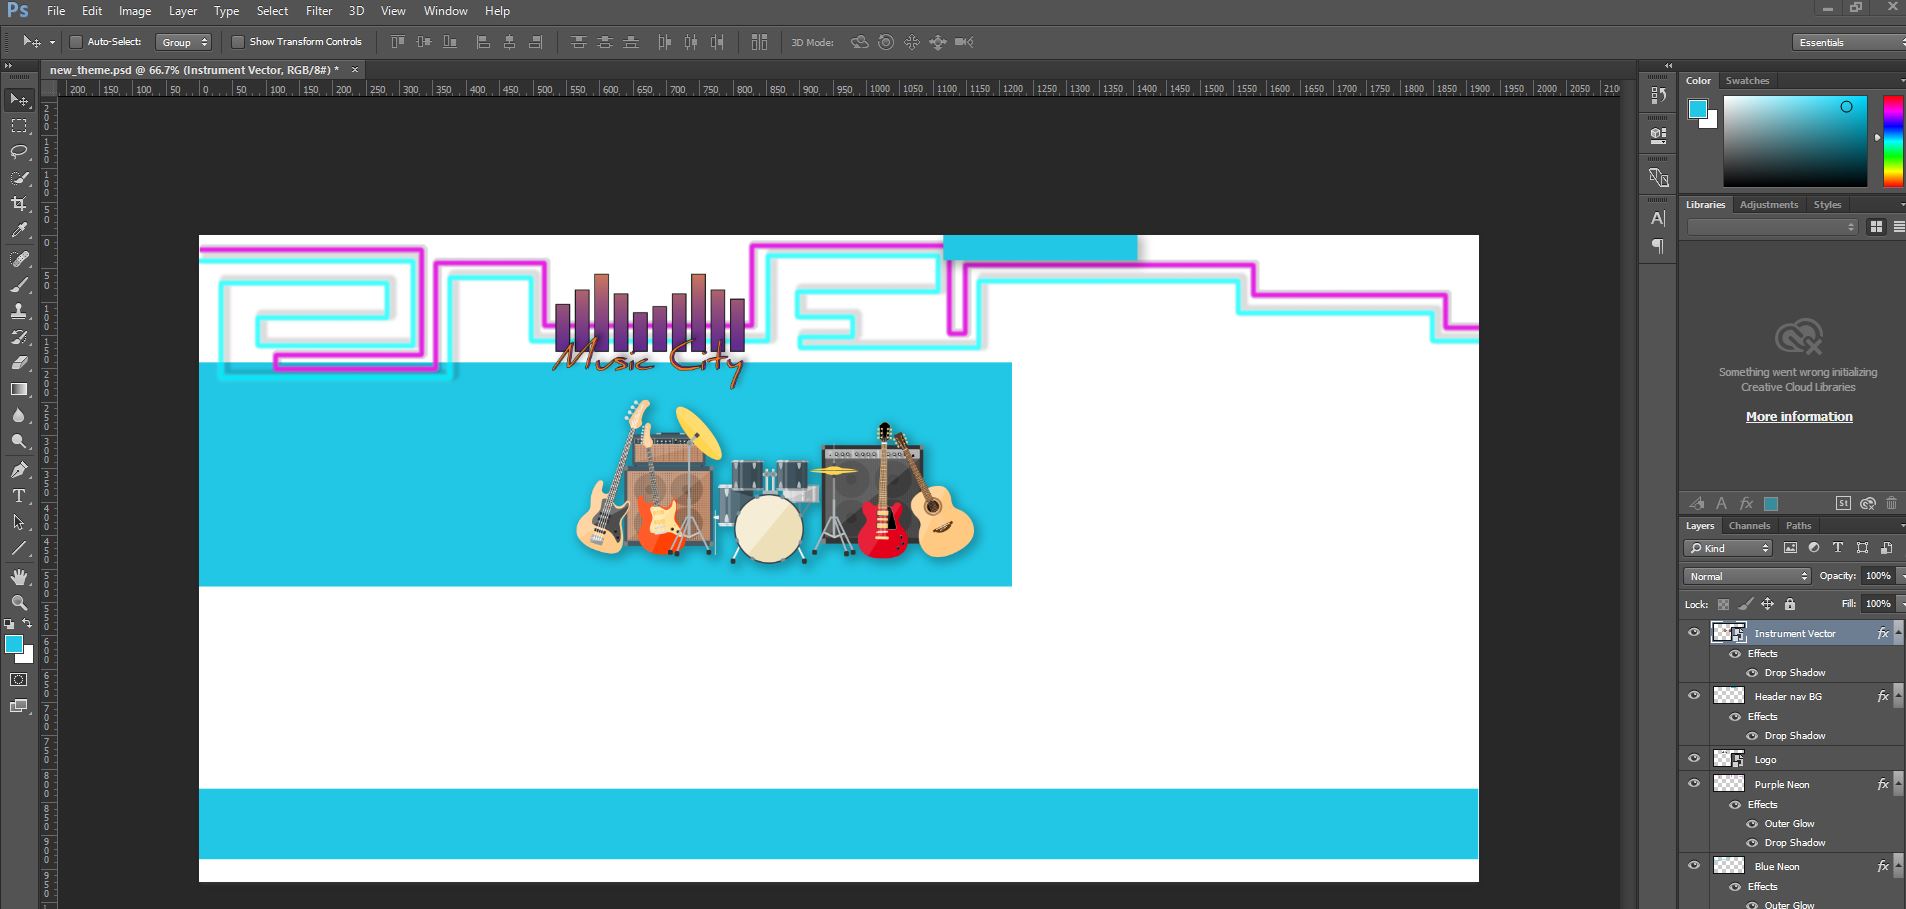
Finally I took each of these elements in Photoshop and saved them into separate image files. These are the images attached throughout the article below.
Changing the Background.
The image for this step can be downloaded here. Be sure to unzip it.
Once you have the image, go to Design > Cart Designer in your admin area.
Click Advanced Tools > Styles editor.
Click Site global styles > Background > Site Background.
Click select image.
Navigate through your computer to where you saved the downloaded image. Open it.
Now, to make sure the rest of the background stays white, click in the color field and drag the color picker to the top left corner.
Click Save. Click Close and then OK to refresh.
Once the page reloads , you will see the image has taken over. Don't worry about alignment issues yet.
Inserting the Header Background.
Download the header background here. Unzip it locally.
Go to Advanced Settings > Styles editor.
Go to Site global styles > Header > Site header container. The container is the entire width of the site, while the Site header is just in the center.
Click select image.
Navigate through your computer to where you saved the downloaded image. Open it.
Click Save. Click Close and then OK to refresh.
Once the page reloads , you will see the image has taken over.
Swapping out the Logo.
Click here to download the logo. Unzip it locally.
Go to Edit Site Images.
Next to Site logo, click Browse.
Navigate through your computer to where you saved the downloaded image. Open it.
Click Save.
Click Close, then click OK to refresh.
See How do I create a Logo? for a good article on how to create your own logo. See Adding / Editing Your Logo Using Cart Designer for more information on who to perform this step.
Switching Out the Home Page Image.
Click here to download the gif.
Go to Edit Site Images.
Next to Home Page Image, click Browse.
Navigate through your computer to where you saved the downloaded image. Open it.
Click Save.
Click Close, then click OK to refresh.
Using Firebug to Find CSS, Edit it and Copy it Into Your Website.
Firebug is one of the best tools at your disposal as a web developer. It's a free add-on for Mozilla Firefox. There are other developers tools which work similarly for other browsers.
To install Firebug, in Firefox go to your menu and select Add-ons. In the search box at the top-right, type Firebug and hit enter. Next to Firebug, click Install. Accept any prompts and restart your browser if necessary.
Firebug has many uses, and one of the most common (and the one we'll be using for this tutorial) is the ability to see CSS, make changes to it, and see how those changes will look in real-time.
When you right-click section of a website, you will see an option for Inspect Element with Firebug. You will see a mini window pop-up which will show the CSS of that element. If you add CSS to that element in Firebug, you will see it take affect on the website in real-time. Obviously you're not actually making changes to the CSS, since it resides on the server. So, once you've made CSS changes that you like, copy the CSS and paste it into the CSS file on the server for it to take affect.
Using CSS to Align the Logo.
Now, we will use Firebug to determine where we want the logo to be, since it's not aligned how we set it up in Photoshop.
First, it's a good idea to have Cart Designer open in one tab, and your home page open in another. You can also open up your home page in an incognito window or another browser to make sure the Cart Designer cookie doesn't apply if you happen to refresh the page.
On the front page of your site, right-click on the logo and choose Inspect Element with Firebug.
Make sure that the HTML tag is selected in Firebug. If it's not highlighted, go ahead and click <div class="logo"> to highlight it.
In the Style section on the right, you should see:
.logo {
margin-top: 25px;
}
Double-click to the right of this element and Firebug will open up a new style underneath margin-top. Type in margin-left. It should auto-fill. Click enter once it's in.
A box will appear to the right. Type in 67px. You can use your up and down keys to increase/decrease the pixel number. This will allow you to adjust the logo left and right as needed.
Click on the pixel number to the right of margin-top. Use your up arrow to increase the number to 42px.
The resulting CSS should look like:
.logo {
margin-top: 42px;
margin-left:67px;
}
Now just highlight the CSS in Firebug. Use Ctrl + C (PC) or CMD + C (Mac) to copy.
Switch back over to Cart Designer. Click Advanced Tools > Edit custom css.
Paste in the CSS with Ctrl + V (PC) or CMD + V (MAC) . Click Save.
Click OK to refresh.
Update the Checkout Box.
Now it's time to change the background color of the checkout box located in the top right corner (with the login/register link and cart total).
Since I want the color to match what I've designed in Photoshop, I will open back up my site design in Photoshop > Use the Eyedropper tool to select the baby blue color > Double-click the color picker box > and copy the color code found there.
The color code you'll be copying is 21c7E5.
With the code copied, navigate back to your Cart Designer.
Right-click on that Checkout box and choose Edit Visual Properties. You'll notice that you're editing the Navigation element in the Styles Editor.
In the Background section, paste that color code into the Color field. Make sure to retain the # symbol.
Click Save.
You should see the color update right away.
Changing the Widget Colors.
Now we will change the colors of the Widgets, the panel boxes in the right column. I didn't mock anything up in Photoshop, I just know I want them to follow the same color scheme as the rest of my site.
In Cart Designer, right-click in the navy blue section of any of the boxes and choose Edit Visual Properties.
By default, the element for the specific box you've chosen will come up in the Styles Editor. We want the Global element though, so that all boxes are affected. Click Global styles for all widgets. Underneath this, select Widget content.
In the Background section, first uncheck the Image box. Paste the color code 21c7E5 into the Color field. Make sure to retain the # symbol.
Click Save.

Next, we will change the Widget header background color. I go back to Photoshop and use the Eyedropper to select the purple color in my header image.
The color I'm using is e64ce4.
Copy this color and head back to Cart Designer. Again, make sure to right-click on a widget > select Edit Visual Properties > expand Global styles for all widgets > and this time, select Widget header.
In the Background section, first uncheck the Image box. Paste the color code e64ce4 into the Color field. Make sure to retain the # symbol.
Click Save. Click Close.
Voila! Our Widget colors now match the rest of the site. However, I still don't like the drop-shadow as it currently stands. I want it to be less intense and drop to the right instead of left.

First, I use Firebug to mess with the values until I find a drop-shadow I like. I finally settle on the following:
.panel {
box-shadow: 5px 0 15px 0 #0b151c;
}
Copy this code > go to Cart Designer > Advanced Tools > Edit custom CSS > paste it in at the bottom.
Click Save.
See Enabling and Creating Widgets Within Your Store for information on how to make your own widgets.
Changing the Footer Colors.
Now we will change the colors of the Footer to match our color scheme.
Access Cart Designer > right-click on the footer and choose Edit Visual Properties.
Expand Footer and select Site footer container.
In the Background section, change the Color field color to 21c7E5. Retain the # symbol.
Click Site footer.
In the Font section, click in the Color field and drag the color picker to the top left corner, selecting pure white, or #ffffff.
Click Site footer links.
In the Font section, click in the Color field and drag the color picker to the top left corner, selecting pure white, or #ffffff.
Click Save. Click Close.
Changing the CSS of the Product Price Boxes.
Now, we will be changing the style of the price boxes below each product. Here, we will be using Firebug again.
Re-copy the color code 21c7E5.
Go to the front of your website without Cart Designer active.
Right-click on the box below a product and choose Inspect Element with Firebug.
Make sure that <div class="catalog-product-sale-price"> is selected on the left.
On the right, you should see the following CSS:
.catalog-product-sale-price {
background: transparent url ("../images/product-info.png") no-repeat scroll center bottom;
padding: 10px;
}
Double-click on transparent url ("../images/product-info.png" no-repeat scroll center bottom and replace transparent url ("../images/product-info.png" with #21c7E5. Click out of the field to accept it. It will add none next to the color code, as in 'no image'. So the CSS will now look like:
.catalog-product-sale-price {
background: #21c7e5 none no-repeat scroll center bottom;
padding: 10px;
}
Copy that CSS from Firebug, and paste it into something like Notepad, so we can have it for later.
Now, go back to the front of your website. Right-click on the actual price and choose Inspect Element with Firebug.
You should be editing the same element, .catalog-product-sale-price. However, now we're just dealing with the font styles. The CSS in Firebug should be the following:
.catalog-product-sale-price {
font-size: 16px;
}
Color is not defined here, because it's being applied from a parent CSS element. So we will add color. Double-click to the right of 16px; and a new box will appear underneath. Type in color. In the box that appears to the right of color, type in white. The CSS should not look like:
.catalog-product-sale-price {
color: white;
font-size: 16px;
}
Copy this from Firebug and paste it into Notepad, underneath the previous CSS.
Now, right-click on the sale price on the front of your site and choose Inspect Element with Firebug.
You should have .catalog-product-sale-price .sale-price-amount showing on the right. The current CSS should look like:
.catalog-product-sale-price .sale-price-amount {
color: #990000;
}
I go back to Photoshop to copy the purple color. The color code is e52ce3. Go back to Firebug > double-click on #990000 > delete it > paste e52ce3 in it's place. Click outside the box to apply it.
The CSS should now be:
.catalog-product-sale-price .sale-price-amount {
color: #e52ce3;
}
Copy this from Firebug and paste it into Notepad beneath the previous two elements.
In Notepad, use Ctrl + A (PC) or CMD + A (MAC) to select all of the CSS text. Copy it.
Go back to Cart Designer.
Click Advanced Tools > click Edit custom CSS.
Paste in the CSS text at the bottom.
Click Save.
Click OK to refresh.
While working on this I decided I didn't like how big the drop-shadow is coming from the footer. This can be removed or reduced.
Reducing the Drop-Shadow on the Footer.
Again, we will be using Firebug for this portion of the lesson.
On the front of your site without Cart Designer active, right-click the footer area and choose Inspect Element with Firebug.
On the right you will see the element .container-footer. The CSS will be:
.container-footer {
box-shadow: -5px -5px 150px #0b151c;
}
Using my arrow keys I can increase or decrease each pixel number until I'm satisfied with the results. I settle on 0px 0px 15px. The CSS will now be:
.container-footer {
box-shadow: 0 0 15px #0b151c;
}
Copy this from Firebug.
Open Cart Designer > Advanced Tools > Edit custom css. Paste the CSS at the bottom.
Click Save.
Click OK to refresh.
Changing the Color of the Buttons.
Now we want the color of the buttons to match the purple color we've been using. The buttons use some nifty CSS to pull of the gradients we're seeing.
First, grab that same purple color code, e52ce3. Right-click on the button in Firebug and choose Inspect Element with Firebug. You will see the element input.button, input.reset, input.submit on the right. The full CSS will be:
input.button, input.reset, input.submit {
background: rgba(0, 0, 0, 0) radial-gradient(ellipse farthest-corner at center center , #ce3030 0%, #a74041 50%, #872f2e 100%) repeat scroll 0 0;
border: medium none;
border-radius: 5px;
color: white;
font-weight: bold;
padding: 5px;
}
We only want to edit the background section. Double-click in the area to the right of background. Replace #ce3030 with our color e52ce3.
Next, I use Photoshop to locate darker shades of my color to make the gradient.
Copy this color: af31ad. In the CSS above, replace a74041 with af31ad. This provides the middle color.
Copy this color: 741a73. In the CSS, replace 872f2e with 741a73. This completes the gradient with the darkest purple. The final CSS will look like:
input.button, input.reset, input.submit {
background: rgba(0, 0, 0, 0) radial-gradient(ellipse farthest-corner at center center , #e64ae4 0%, #af31ad 50%, #741a73 100%) repeat scroll 0 0;
border: medium none;
border-radius: 5px;
color: white;
font-weight: bold;
padding: 5px;
}
Copy this CSS from Firebug.
Open Cart Designer. Navigate to Advanced Tools > Edit custom css. Paste in the CSS.
Click Save.
Click OK to refresh.
Now we'll just tweak a few things to make the design look better.
Adjusting the Header Alignment.
With Firebug open, click through the different elements on the left side. You will see each time you click on one, the element is highlighted on the website. For this portion of the lesson, you will need to click on <div class="container-header clearfix">. This will be located under <div id="site-container" class="site-container">. On the right side of Firebug, you will see the following CSS:
.page .container-header {
background-attachment: scroll;
background-color: transparent;
background-image: url("./../images/custom/page.container-header.png");
background-position: 50% 0;
background-repeat: repeat-x;
}
First, we want to increase the height of the header so that the whole container will show. Double click in the space to the right of the styles. In the box that appears at the bottom, type in height and hit enter. In the box that appears to the right, type in 217px.
Now we want to bring the background image down a bit. Double-click 50% 0 next to background-position:. Change the 0 to 9x and click outside to accept it. The CSS should now look like:
.page .container-header {
background-attachment: scroll;
background-color: transparent;
background-image: url("./../images/custom/page.container-header.png");
background-position: 50% 9px;
background-repeat: repeat-x;
height: 217px;
}
Copy the CSS from Firebug.
Access Cart Designer. Go to Advanced Tools > Edit custom css. Paste in the CSS.
Click Save.
Click OK to refresh.
Aligning the Right Column.
Next, we will pull the right column up to align with the blue box in the background.
On your home page, without Cart Designer active, right-click on the right column and choose Inspect Element with Firebug.
On the left side, you will want to make sure you have the element <div id="main" class="clearfix">. On the right side you will be editing .container-main #main. The full CSS will look like:
.container-main #main {
border: 0 solid gray;
margin: 10px 0;
min-height: 700px;
padding: 0;
}
You will want to click on 10px 0, and using your down arrow, decrease the number to -26px. The CSS will now look like:
.container-main #main {
border: 0 solid gray;
margin: -26px 0;
min-height: 700px;
padding: 0;
}
Copy the CSS from Firebug.
Access Cart Designer. Go to Advanced Tools > Edit custom css. Paste in the CSS.
Click Save.
Click OK to refresh.
Adding Text Over Your Home Page Image.
In this final part of the lesson, we will use the home page WYSIWYG Editor to add text over the home page image. This is a good way to advertise promotions, give a brief about us, or provide a company slogan.
Open up Cart Designer.
Right-click over the main home page image, and choose WYSIWYG Editor. We want the text to be at the top for now. We will move it over the image in later steps. Type in:
Get the band back together!
10% off everything
Hit enter to push the rest of the text to a new line.
Click Save.
Click OK to refresh.
See How to Use the WYSIWYG Editor for more info on the WYSIWYG.
In order to apply specific CSS to this text, we will need to add div tags.
Right-click on the home page image again and choose Edit Source Code. It should show that you're editing home.html. If it shows a different file, trying adjusting where you right-click.
At the top of the file, you will see the text you added in HTML form. You will want to surround this text with a div class. In front of the text, add <div class="sloganhome">. At the end of the text, add </div>.
Since the second line '10% off eveything' will have a different font size, we will want to differentiate it from the rest of the div. In front of '10%', add <span>. After 'everything', add </span>. The entire line of HTML should look like:
<div class="sloganhome">Get the band back together!<br /><span>10% off everything</span></div>
Now, we will go back to useing Firebug.
Go back to your home page, without Cart Designer active. Right-click on the text we added and select Inspect Element with Firebug.
You will see <div class="sloganhome"> is selected on the left side in Firebug, but there are no styles on the right. This is because none exist yet.
Find a space off to the right in Firebug, where there is no text, right-click and choose Add Rule. You will see the following appear on the right:
.sloganhome {
}
Double-click to the right of { and you will see a field appear beneath it.
We will want to change the font size. Type in font-size and hit enter. In the space to the right, type in an appropriate font size. I chose 52px. Hit enter. A new field will appear underneath that.
Type in color, hit enter. Type in white. Hit enter.
In order to allow the font to site over the image, we need to give it an absolute positioning.
Type in position and hit enter. Type in absolute and hit enter. The home page image will pop back up into position as the text rests over it.
Now we want to align it better.
Type in left and hit enter. Type in 50px and hit enter.
Type in text-align and hit enter. Type in center and hit enter.
Copy this CSS and paste it into Notepad.
Now we want to shrink the '10% off everything' down so it's easier to read.
Right-click on the right side of Firebug again and choose Add Rule. Double click on .sloganhome and type in span to the right. Now double-click to the right of {.
Type in font-size and hit enter. Type in .5em. This will reduce the size in half.
Copy this CSS into Notepad.
Now copy all of the CSS from Notepad. It should look like:
.sloganhome {
color: white;
font-size: 52px;
left: 50px;
position: absolute;
text-align: center;
}
.sloganhome span {
font-size: .5em;
}
Open up Cart Designer. Go to Advanced Tools > Edit custom css.
Paste the code in.
Click Save.
Click OK to refresh.
