One of the most common inquiries we receive is about how to use the WYSIWYG Editor. Here is a comprehensive guide.
Applies to Version(s): 3.7.X - Current
In this article you will learn
How to access the WYSIWYG in Cart Designer
How to access the WYSIWYG in Product and Category Descriptions
A WYSIWYG Editor, is a tool which allows you to design your site without having to know HTML. It's an acronym for "What You See Is What You Get", meaning whatever you enter into the WYSIWYG should pretty much be what shows up on the site, with few exceptions. It has tools built in to insert images, links, change font size, etc. Imagine the tools you use for formatting in Microsoft Word.
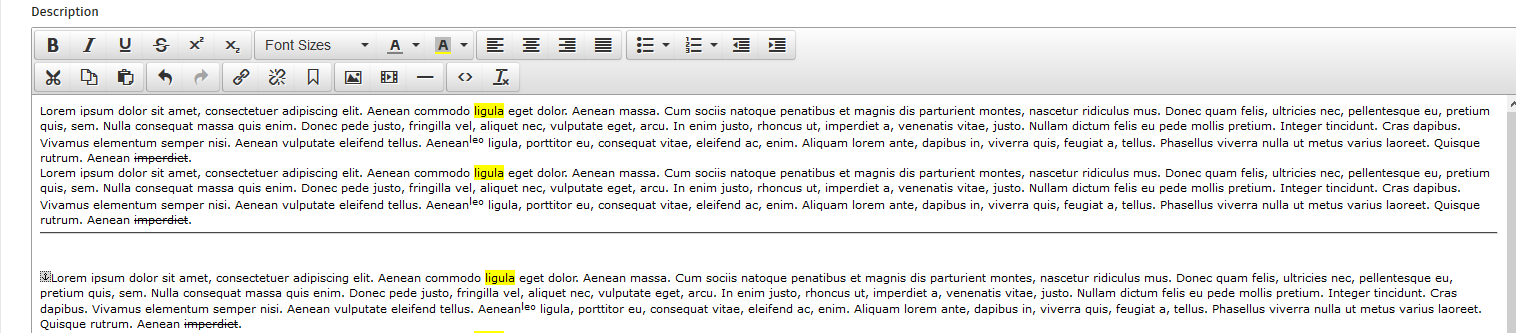
Shoppe Pro Ultimate has a WYSIWYG tool built in, and provided by TinyMCE. It can be used in Cart Designer, Product Descriptions, and Category Descriptions. Let's take a look at where and how it's used.
How to access the WYSIWYG in Cart Designer.
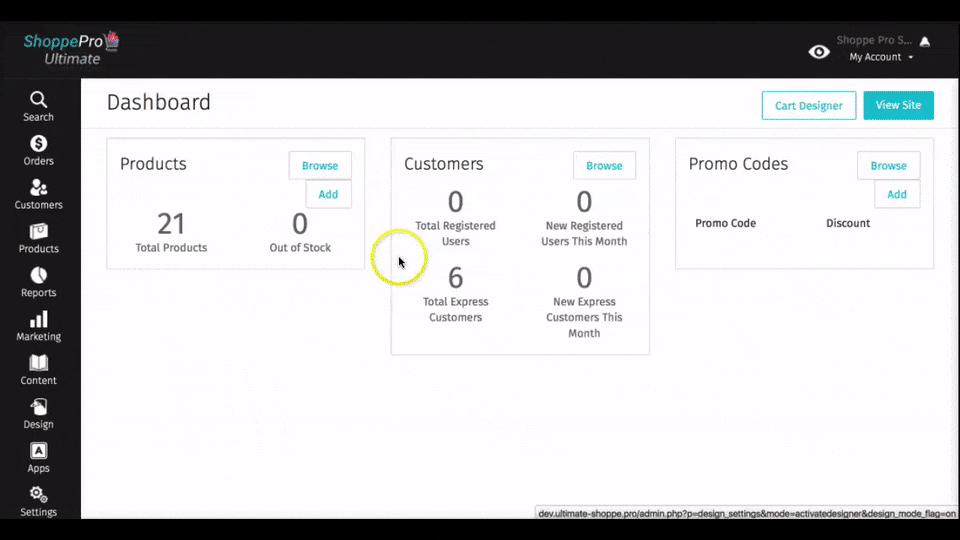
First, access your admin area.
Click Design > Cart Designer.
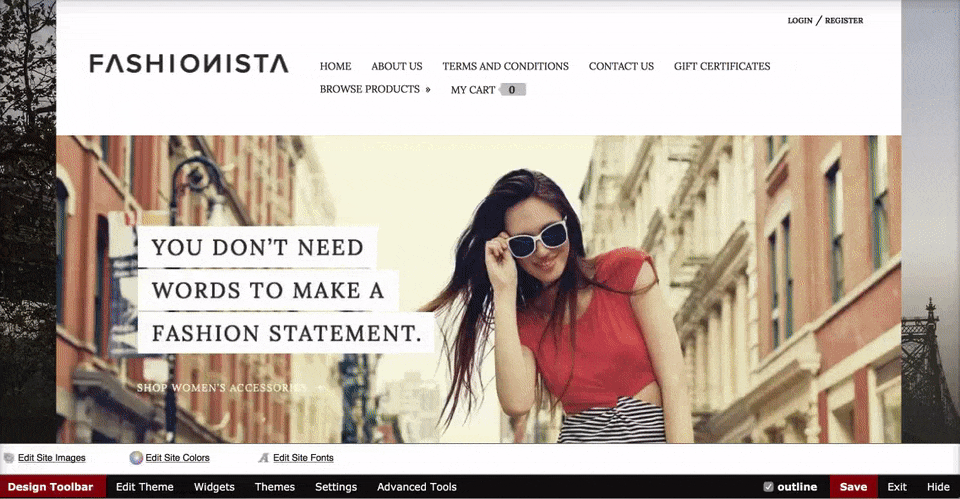
Again, the only three areas you can use the WYSIWYG on are header.html, footer.html, and home.html. You'll know whether you're editing one of those sections, if you right-click and see an option for WYSIWYG Editor.
How to access the WYSIWYG in Product and Category Descriptions.
Click Products on the left menu > Products > now click an existing product to edit it, or add a new product. In the Description section, you will see the WYSIWYG tools.
It's pretty much the same for Categories. Click Products > Categories > edit or add an existing Category and you will see the WYSIWYG in the Category Description section.
WYSIWYG Tools.
Next we'll look at each section of tools in the WYSIWYG and how each tool works.
Font Formatting Tools.
 Bold - This will make any text that you highlight bold.
 Italic - This will make any text that you highlight italic.
 Underline - This will underline any text you highlight.
 Strikethrough - This will strikethrough any text that you highlight.
 Superscript and Subscript - A Superscriptexample will add a character to the top left of another character. Subscriptexample will add it to the bottom right. To use this correct, type the super or sub script next to the previous word without a space. Highlight the super or sub and click one of those two options.
 Font Sizes - This will allow you to change the text size of highlighted text.
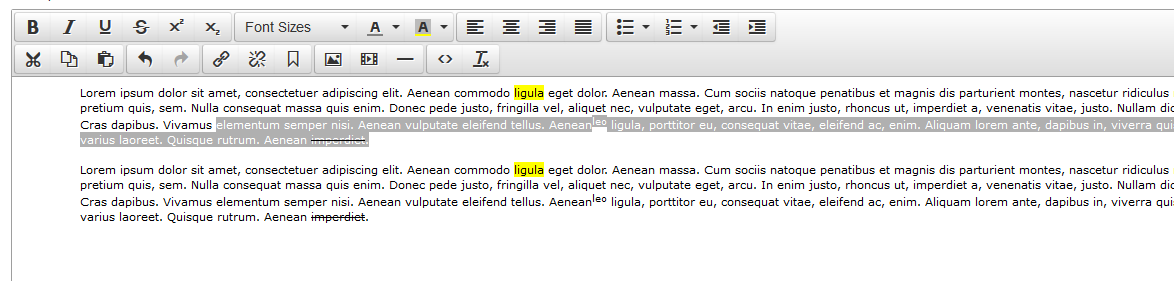
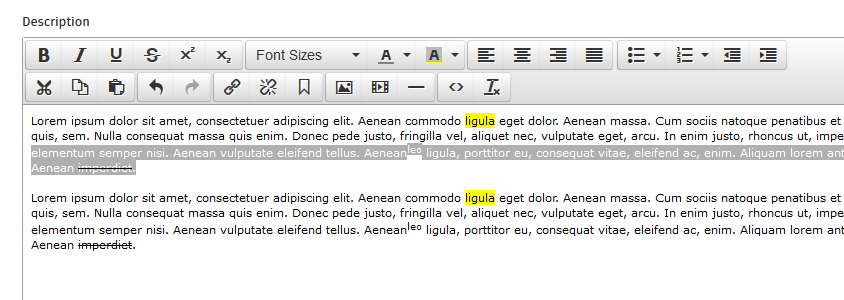
 Font Color - This will change the color of the font to a color of your choice for highlighted text.
 Font Background Color - This will add a background color to highlighted text. This is good for highlighting.
Paragraph Tools.
 Paragraph Formatting - These are your typical formatting options for paragraphs. You have you left alignment, center alignment, right alignment and justify.
 Bulleted List - This will allow you to create paragraph lists, with different bullet types; Default, Circles with no fill; Discs (same as Default), or squares.

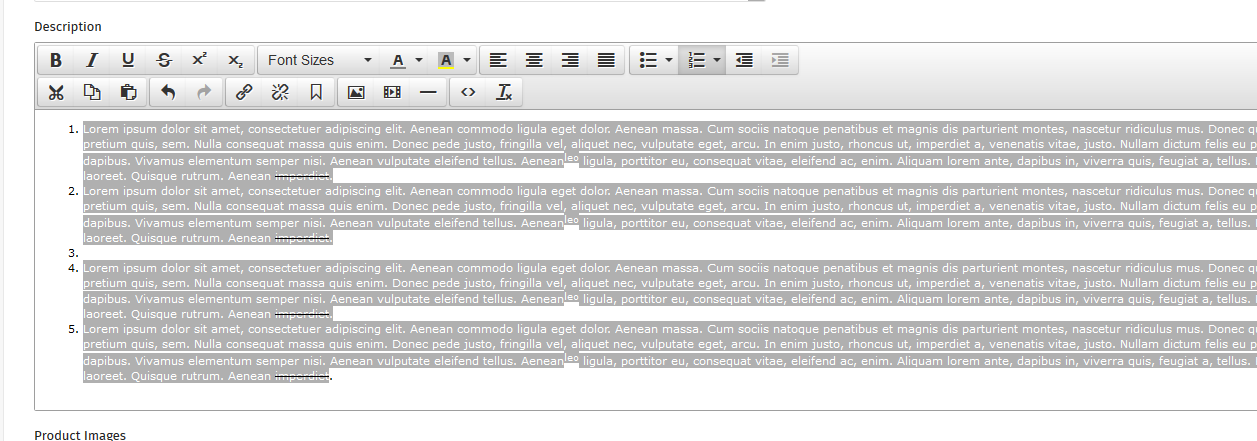
 Numbered List - This will allow you to create lists with numbers, letters, roman numerals, etc.
 Increase and Decrease Indent - This will push the text to the right or left. Increase:
Decrease:
Editing Tools.
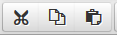 Editing Tools - These are your typical Cut, Copy and Paste tools.
Images and links.
 Link - This will make your highlighted text into a link. When clicked, it will pop up an Insert Link box. See details of each below;
- URL: You can insert an external link, for example http://www.google.com. Or, you can link to a file on your server. This would be a great way to link to things like PDF files. Just click the search icon, and use the Moxie Manager to navigate to the file to select it.
- Text to Display: This is the text you've highlighted to link.
- Title: This is a title tag, good for SEO
- Target: If you choose New Window, the link will open in a new window. If None, than it won't.
 Remove Link - This will disable links you've highlighted.
 Anchor - This will create a spot anywhere in your text which can be linked to. Once used, you can than use the link option above and a new field will appear for Anchors. You would link that text to an anchor you've created.
 Insert/edit Image - This will allow you to add an image to wherever your cursor is located. You can learn a lot more about this here, Adding an Image to Your Site Using the WYSIWYG Editor.
 Insert/edit Video - This will allow you to add or edit video, similar to images above. Just follow the same directions when adding videos.
The Rest.
 Horizontal Line - This will add a dark bold line to separate your text. Just place your cursor where you'd like it and click the button.
 Source Code - This will open up the HTML editor directly. This is great for designers that want the WYSIWYG to do most of the work, but need to be able to tweak HTML for detailed customizations. This would also what you'd use to add HTML or Embed code from other sources.
 Clear Formatting - This will clear all changes you've made with the WYSIWYG Editor. It will also clear out any formatting that may have been copied into your WYSIWYG from other sources, such as Microsoft Word.
