If you already have a blogger account with an existing blog, (i.e. yourname.blogspot.com) and want to make it appear as a subdomain to your existing website with Shoppe Pro (i.e. blog.yourdomain.com) it is pretty simple to accomplish. �One of the main reasons you may want to do this is for SEO reasons (Search Engine Optimization). �Your domain will get the search engine credit for any content found on your blogger blog.
Blogger offers two free publishing options for your blog: hosting on Blogspot (example.blogspot.com) and hosting on your own custom domain (blog.yourdomain.com for example). You can change your publishing option at anytime, and your content will always remain unaltered regardless of which of these options you choose.
Follow the instructions below to set up your custom domain with your existing blogger account.
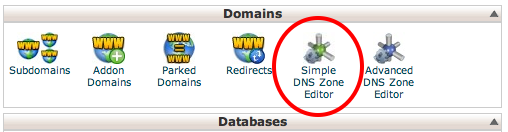
STEP 1) First log into your cPanel with Shoppe Pro, scroll down and click "Simple DNS Editor" under Domains.
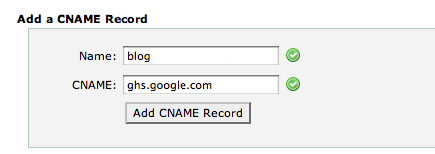
Next, you will see a field for adding a CNAME Record. Next to Name: enter blog. Next to CNAME: enter ghs.google.com as seen below.
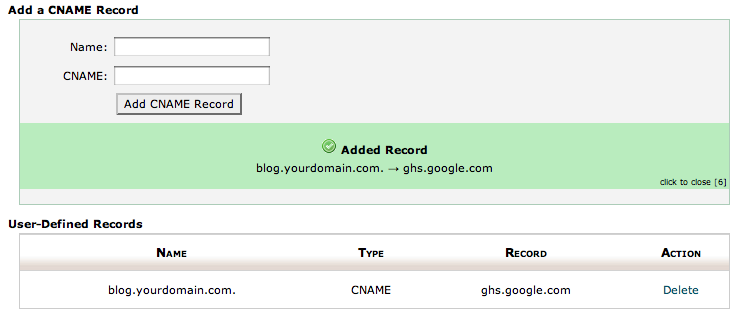
After you do this, you will see a success message like the one below:
STEP 2) Now head on over to Blogger, and click the�Settings | Publishing tab.
Click the link that allows you to switch to a custom domain.

The�Blogspot Address setting now changes to�Your Domain. Write in your new UR L( blog.yourdomain.com), and save your settings.

Congratulations, you�re all set!
Some helpful notes:
- If your new domain isn't taking you to your blog, wait another day or two to make sure all the DNS servers have been updated. If it still isn't working, contact Shoppe Pro to make sure you entered the DNS settings correctly.
- Your original Blogspot address will automatically forward to your new domain. That way, any existing links or bookmarks to your site will still work.
- Your�posted images will continue to display on your blog.
