


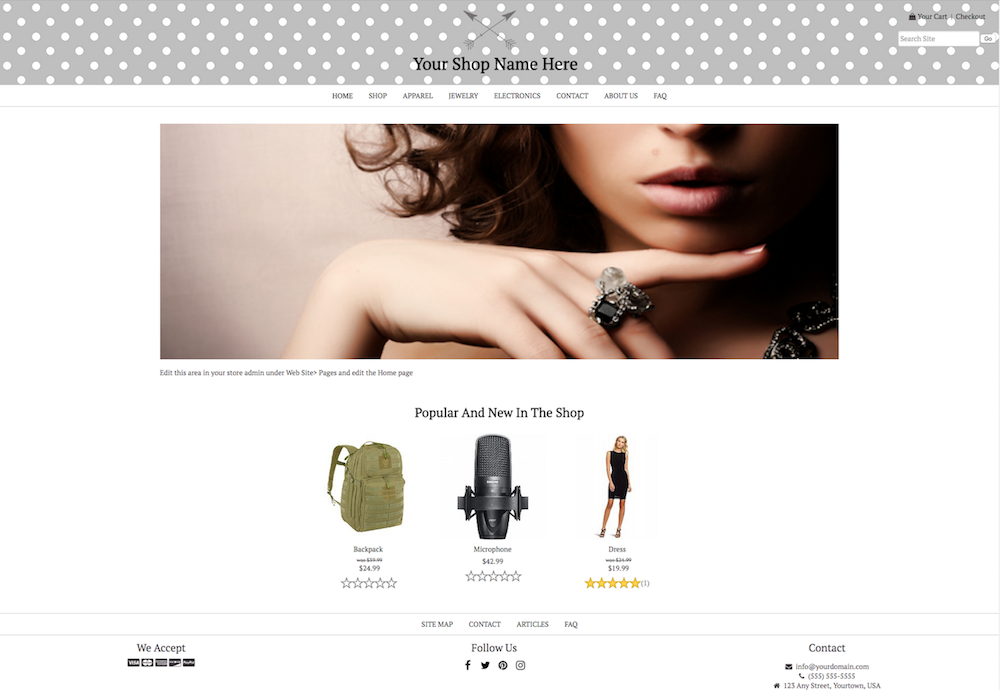
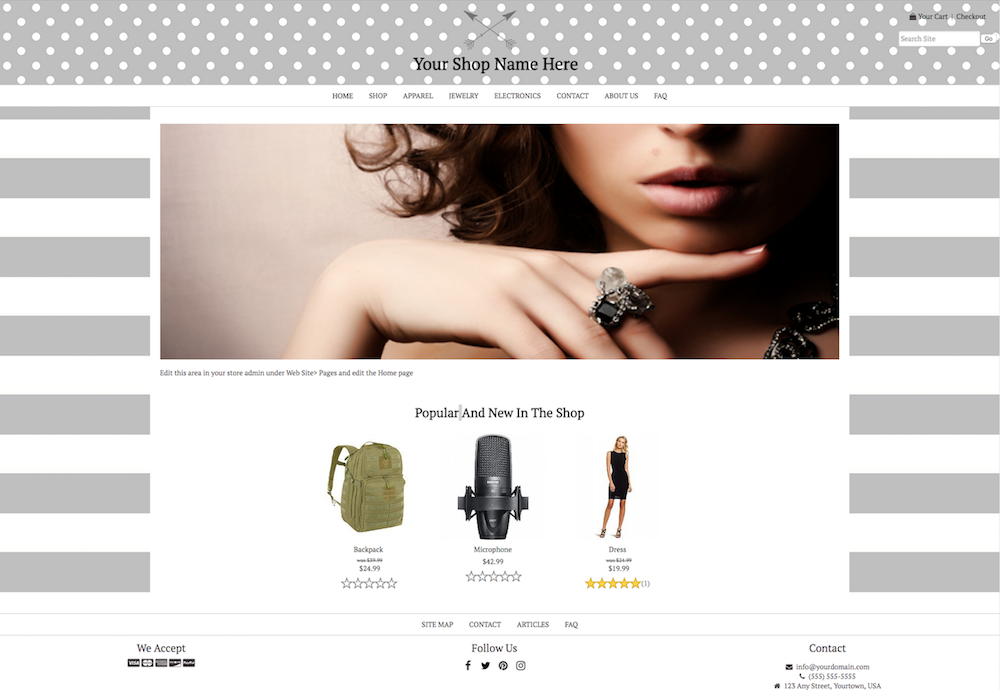
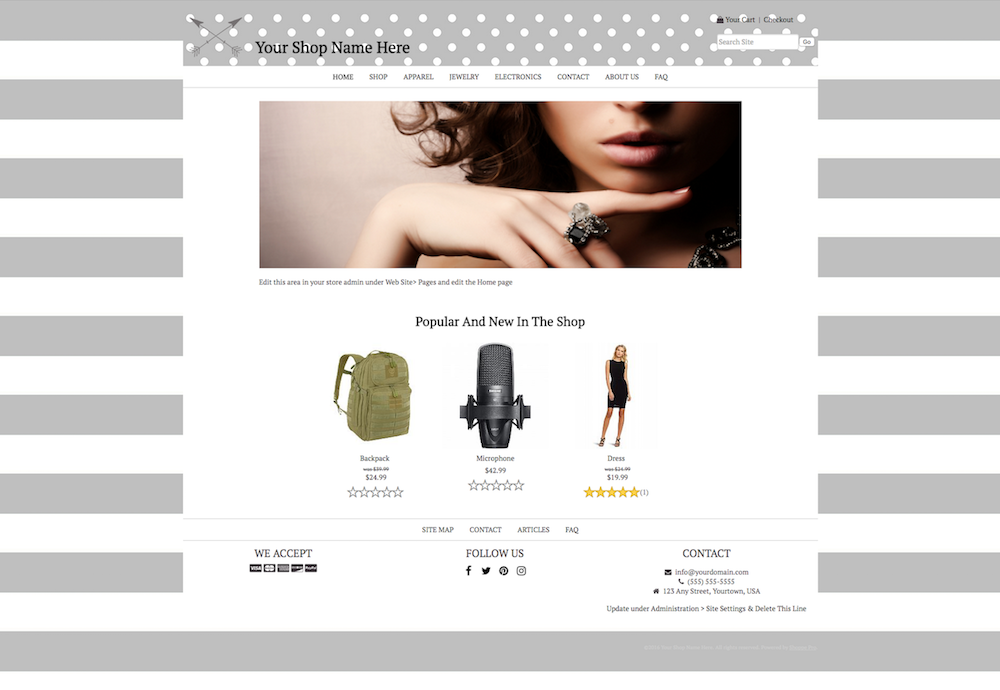
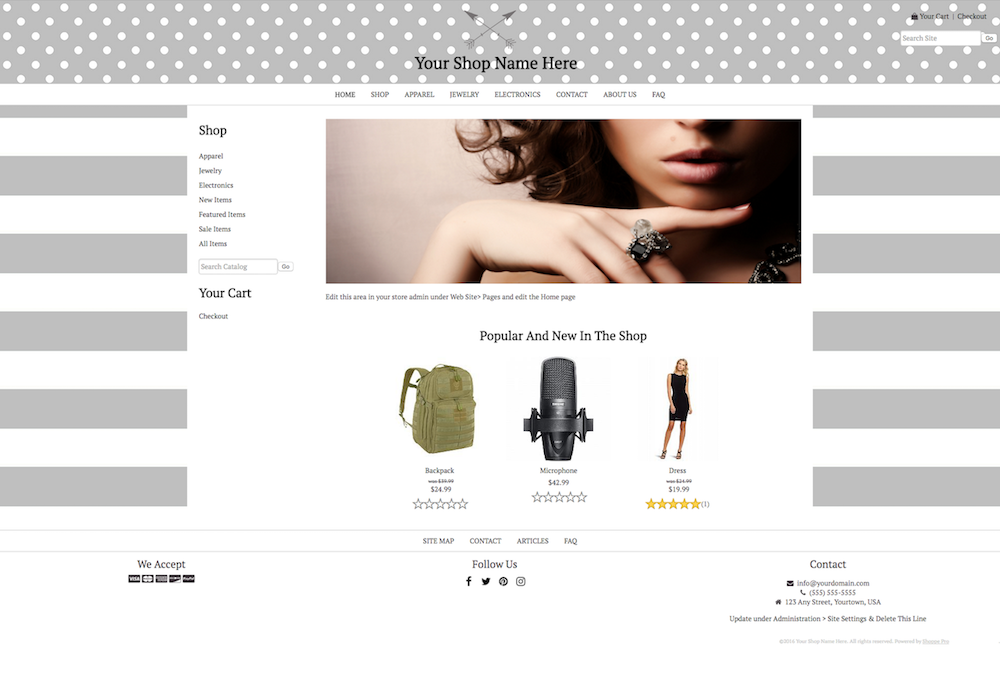
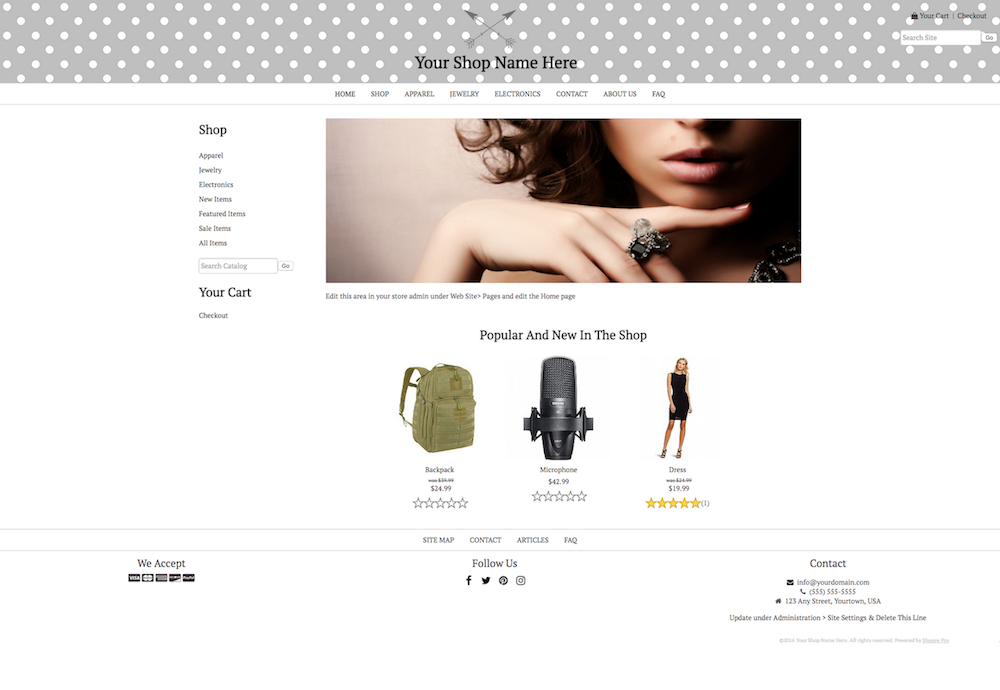
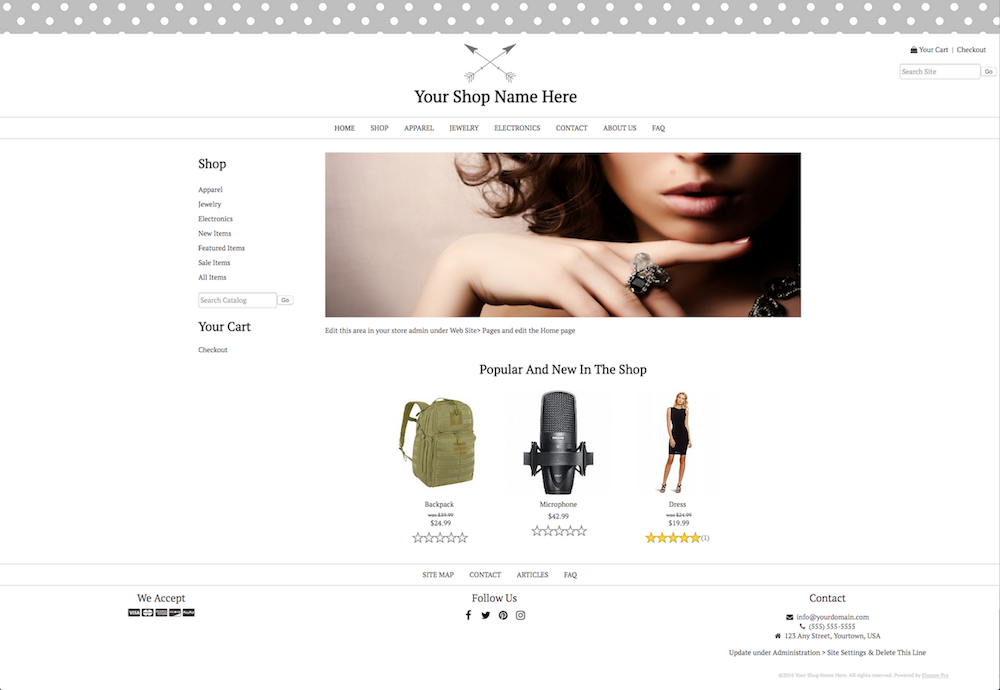
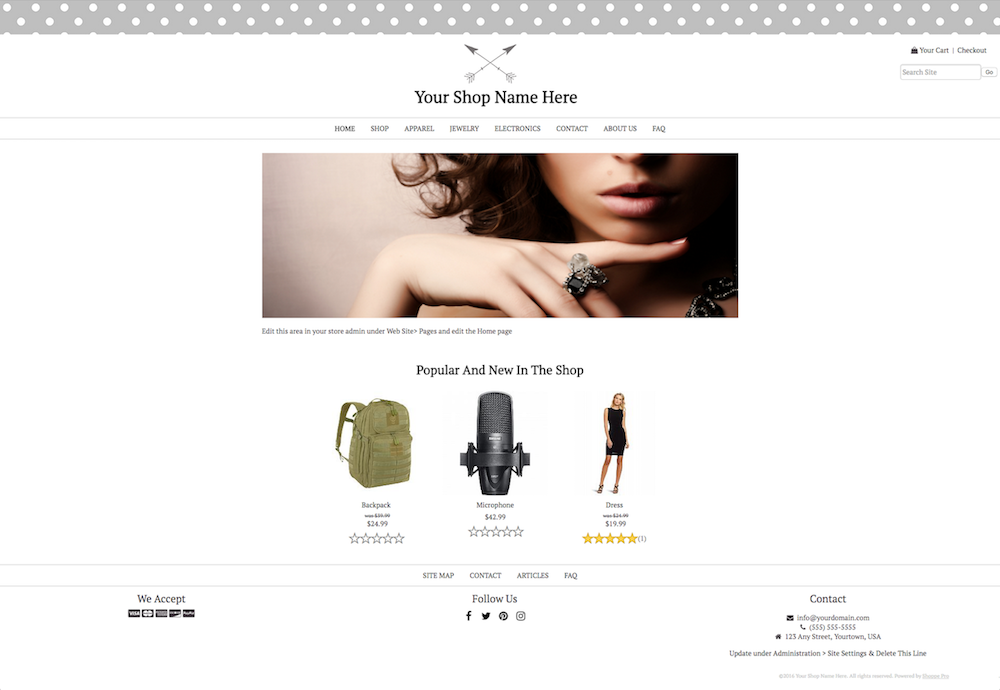
Shoppe Pro DIY Template Styles Available in 7 Layouts
Replace the patterns and arrow icon with your own images. Control the fonts and colors within your store admin. Instructions below.

How to Activate Your DIY Template:
Pick Your Layout
Scroll through samples above to see which style you prefer. Style number can be found under image or on mouseover
- Log into your Store Administration area
- Click Website > Template from the top menu.
- In the drop down box find the DIY Template style you prefer (see samples above)
- Check both boxes below for Update Link Colors and Update Logo/Images
- Click Apply
Upload Your Custom Images
Replace stripes and/or dots with your own patterns or colors
- Click Website > Images from the top menu
- Click the UPDATE button under catalog images
- Upload your Site Background (replace stripes) and/or Header Background (replace dots), depending on the style you picked. NOTE: It is highly recommended you use a repeating pattern to avoid a weird repeat. If you wish to have a solid color, just upload a small square of the color.
- Upload your logo if you have one (you should also remove the image in the Icon field as well).
Note: If you don’t have a logo and want to make a “faux logo” you can keep the arrows or replace with small image of your choice by uploading it in the Icon Image field. - Click Update at the bottom
Assign Your Page Placement
The horizontal bar at the top shows pages in Group 1 in addition to all parent categories. The horizontal bar at the bottom shows all pages in Group 2.
- Click Website > Pages from the top menu
- Edit any page you want in the top menu and click the checkbox for Group 1. (If you want to remove a page from the top, edit it and uncheck the box for Group 1) Click Update.
- Edit any page you want in the top menu and click the checkbox for Group 2. (If you want to remove a page from the top, edit it and uncheck the box for Group 2) Click Update.
Customize Your Fonts and Colors
- Click Administration > Fonts and Colors from the top menu
- Select your desired font. NOTE: All above samples are shown using PT Serif
- If desired, change the sizes of the fonts using the size drop downs.
- Change the colors you wish to change here. You may choose a color with the color picker button or type in the HEX Color code of your choice. For a wider variety of color choices, you may wish to visit http://www.colorpicker.com to find a color you like. Or for some color scheme inspiration, try http://www.colourlovers.com.
TIP: Unless you like boxes around each of your thumbnails in your catalog, leave the “Line Color” field blank.
Copyright Information:
By using the DIY Template, you agree to leave the header code in tact, as well as to display the Shoppe Pro copyright message at the bottom. Failure to comply will result in the deletion of your template from your website.