One of the most common things to do in the WYSIWYG Editor is to add images. It's also one of the more complicated things to do. We have your walkthrough!
Adding an Image to Your Site Using the WYSIWYG Editor.
Login to your admin area.
Go to Design > Cart Designer.
There are 3 sections from the home page where you can use the WYSIWYG Editor; the header, the footer, and the center body section (home.html). You'll know if a section can be changed by the WYSIWYG if you right-click and see an option for WYSIWYG Editor.
Find the area you'd like to add an image to > right-click > choose WYSIWYG Editor.

Choose an area you'd like to place the image > Click the Add/Edit Image icon at the top.
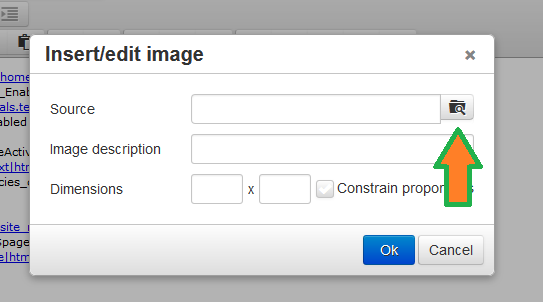
Next to the source field, click the Moxie Manager button.
In the Moxie Manager pop-up, select where you'd like to upload the icon. Typically this would be in the Images folder.
Once you've made the choice, click the Upload button at the top. In the next pop-up, click Add Files > select the image from the location you saved it above > click Upload.
Select the image and click Insert. This will insert it into the section you've chosen.
Finally, click OK > Click Save.
